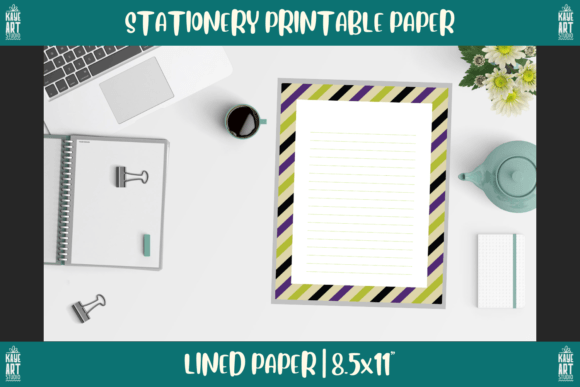
Bordered Stationery Printable Paper 200: A Practical Guide for Creators and Entrepreneurs
If you are building a no-content or low-content business on KDP, designing digital planners, or simply stocking up on versatile stationery, you have likely come across sets labeled Bordered Stationery Printable Paper 200. These packs typically include a mix of unlined bordered sheets, graph paper, and lined paper, all sized at 8.5×11 inches with 300 DPI resolution in both PNG and PDF formats. On paper, that sounds like a no-brainer purchase. But as with any printable product, the details that make it truly useful are often the ones most easily overlooked. This article walks through common pitfalls and practical adjustments so you can get real value from your printable paper sets—whether you are selling them, using them in your own workflow, or handing them off to clients.
Understanding What You Are Actually Getting
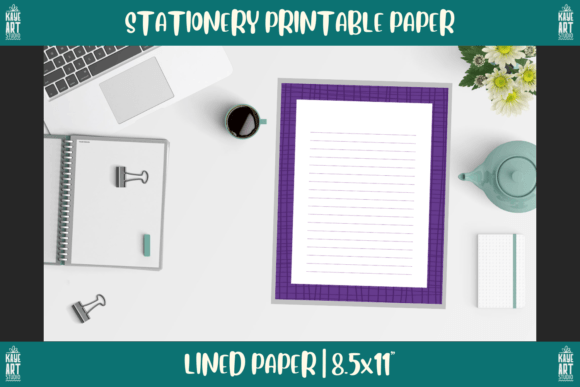
A typical set like this includes four sheets: one unlined bordered paper, one graph paper, and two lined papers. That may sound minimal, but it is the foundation for many products. The mistake many creators make is assuming they can simply upload the PNG files to KDP as-is and call it a day. In reality, you need to check a few things before that PDF is ready for sale. For example, the 8.5×11 trim size is standard, but if you plan to sell a physical book, you must account for bleed. Most KDP books require a 0.125-inch bleed on each side. If your bordered stationery paper was designed without that extra margin, you risk having the border cut off on the outside edge of the page. That small oversight can make your interior look amateurish and lead to returns or poor reviews.
Similarly, 300 DPI is excellent for print, but only if your workflow preserves it. If you download a PNG and then re-save it in a lower-resolution format, or if you compress the PDF too aggressively, you lose the crispness that 300 DPI promises. Always check the file properties before uploading. If you are using these papers for digital planners, the opposite is true—you may actually want to reduce the DPI for faster loading in apps like GoodNotes or Notability. The key is matching the file to the medium.
Common Missteps When Choosing Printable Paper Sets
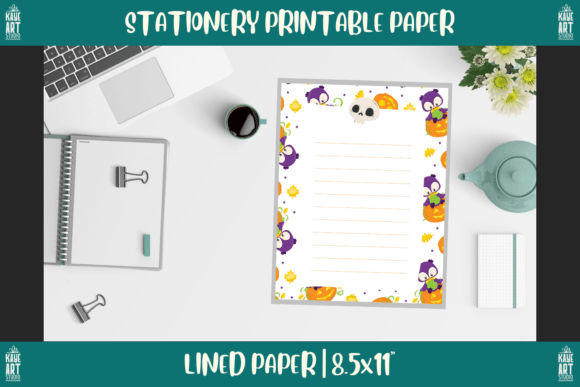
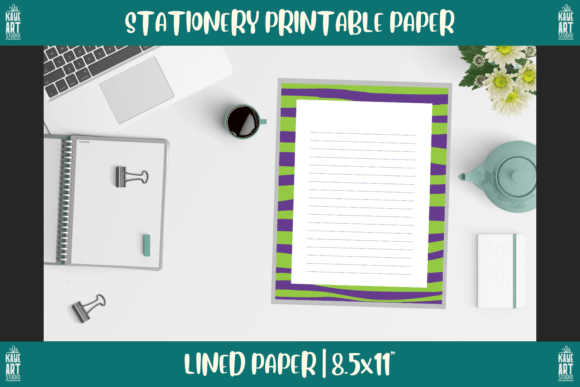
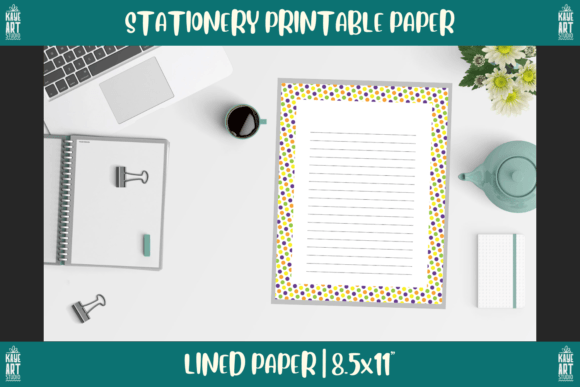
One of the most frequent errors is treating every printable paper pack as interchangeable. A set of Bordered Stationery Printable Paper 200 might look lovely, but if the border is too thick or too decorative, it can eat into usable writing space. This is especially problematic for lined paper meant for note-taking or journaling. Before you buy or sell such a set, measure the inner writing area. A half-inch border on each side reduces your usable width from 8.5 inches to 7.5 inches. That is still workable, but if the design takes up even more room, you may end up with cramped text that discourages users.
Another overlooked detail is the line spacing on the lined sheets. People use lined paper for different purposes: wide spacing for young children or loose note-taking, college-ruled for dense writing, and narrow spacing for planners. If your set offers only one type of line spacing, you may need to supplement it with other papers or note it clearly in your product description. A buyer expecting standard college-ruled paper who receives wide-ruled sheets will likely be disappointed. The same goes for graph paper grid size—common options are 0.25-inch, 0.2-inch, or 5 mm squares. If your set uses something different, state it explicitly.
File Format Pitfalls: PNG vs. PDF
Many printable sets come in both PNG and PDF formats, which is helpful. But the mistake here is using the wrong format for the wrong purpose. If you are creating a KDP interior, you should use a PDF with embedded fonts and vector elements where possible. PNG files are great for digital planners because they allow transparent backgrounds and easy layering, but they are not ideal for print-on-demand books. A PNG at 300 DPI will print fine, but it is a larger file and may cause slower uploads or processing errors on KDP. Moreover, if your bordered stationery includes any text or decorative elements, a PNG may introduce unwanted compression artifacts if you are not careful.
Conversely, if you are selling these papers as digital downloads for customers to print at home, PNG files are often preferred because they are easier to edit, resize, or combine in software like Canva or Photoshop. Offering both formats is a smart move, but be sure each file truly matches the intended use case. Do not simply export a PDF as a PNG without checking the resolution and color profile. sRGB for digital use and CMYK for print is the general rule, but many printable packs ship in RGB only. That is fine for home printing, but for professional or KDP use, you want CMYK or at least a high-quality RGB that converts well.
What to Check Before You Buy or Download
Before you invest in a Bordered Stationery Printable Paper 200 set, take a few minutes to verify these five things:
- Bleed and margin details: Is the design meant for print or digital? If print, does it include bleed? If not, you will need to add it yourself or accept that some borders may be cut off near the spine.
- Line spacing and grid dimensions: Measure or read the description carefully. If the product page does not state the spacing, ask the seller or test a sample page if available.
- Color mode and profile: The file should ideally be in CMYK for print. If it is RGB, test a print to see if colors shift. For digital use, sRGB is best.
- File quality and compression: Open a PNG in an image editor and check the actual resolution. Some sellers upscale lower-resolution originals to 300 DPI, which creates a soft or blurry result when printed.
- Compatibility with your software: If you plan to edit the papers—add text, remove elements, change colors—make sure the PNG has a transparent background where appropriate, and the PDF is not locked or flattened in a way that prevents editing.
Getting the Most Out of Your Bordered Stationery Papers
Once you have a quality set, the next step is using it effectively. One common mistake is using the same paper for everything. While the unlined bordered sheet is great for certificates, cover pages, or decorative stationery, it is less practical for daily note-taking where you need consistent line guidance. The graph paper excels at diagrams, bullet journals, and mathematical work, but may feel too busy for straightforward writing. The lined papers are your workhorses, but if you only have two, you may want to reproduce them several times before you start your project. Print a stack of each type on good quality paper so you are not stuck reformatting or re-downloading later.
Another practical error is neglecting to test print before distributing. Even if the file looks perfect on screen, printer calibration, paper stock, and ink settings can change the appearance significantly. Print one page of each type on the actual paper you plan to use—whether that is standard copy paper, premium resume paper, or a textured cardstock. Check for border alignment, line sharpness, and overall contrast. A border that looks great on white paper may disappear on cream or colored stock. Adjust your printer settings to “high quality” or “photo” mode for best results, and consider using the PDF version for print to avoid scaling issues that sometimes creep in with image files.
How to Avoid Costly Editing Mistakes
If you are editing these papers for resale or personal use, the biggest mistake is working directly on the original file. Always keep a master copy unedited. Duplicate the file before you add any text, crop, or adjust colors. That way, if you make an error, you can start fresh without re-downloading. Also, pay attention to layer management if the files come layered. Some PNG sets are flat, which means you cannot remove the background or border without erasing. If you need that flexibility, look for sets that explicitly offer transparent layered files or editable PDFs.
When combining multiple sheets into a book or planner, check the page order and symmetry. A bordered page with a heavy left-side border may look unbalanced when you flip it to a right-side page. For a cohesive book, alternate or mirror the border designs so the layout feels intentional. This is a small touch that elevates your product from a simple paper set to a polished interior.
Real-World Examples of Better Approaches
Consider a creator selling a daily planner on KDP. They use the lined paper from a Bordered Stationery Printable Paper 200 set for the journal pages. Without checking, they assume the border is centered and that the lines are standard. On the first printed proof, they discover the border is off-center by 0.1 inches, and the line spacing is 0.3 inches—slightly narrower than college-ruled. The planner looks sloppy and feels cramped. The better approach: order a sample proof before listing, or print a test page at home. Adjust the margins in your editing software to center the border, and if the line spacing matters to your market, either note it in the description or choose a different set.
Another example: a small business owner uses the unlined bordered paper for thank-you cards. They print directly from the PNG without converting to CMYK. The border, which is a soft lavender on screen, prints as a muddy gray. The fix: convert the image to CMYK using a profile like US Web Coated (SWOP) v2, or use a PDF that already accounts for print color. A small step, but it keeps your brand looking professional.
What to Look for in a Quality Printable Paper Set
When evaluating any printable paper set, including one like this, focus on consistency. Are all four pages formatted with the same border thickness? Is the grid paper aligned so that the grid starts at the same point on each sheet? Does the line weight on the lined paper match the graph paper? Inconsistencies make a book feel disjointed. Also, consider whether the design is timeless or trendy. A border with elaborate floral corners may be beautiful now but could date your product in a year. For a KDP business, neutral and classic borders tend to sell longer and appeal to a broader audience.
Finally, think about how the set fits into your larger product line. If you already sell graph paper notebooks, adding these bordered sheets as a complementary item can create bundle opportunities. If you use the papers for digital planning, check that the PNG files are transparent where needed and that the PDFs are not password-protected or restricted. A good set should be easy to access, edit, and print without unnecessary hurdles.
Making the Right Choice for Your Needs
The Bordered Stationery Printable Paper 200 set is a solid starting point for anyone building a low-content KDP business, crafting stationery, or designing digital planners. But its value depends entirely on how well it matches your specific needs. Avoid the trap of assuming a pretty border and standard dimensions are enough. Check the technical details—bleed, DPI, color mode, line spacing, and grid size—before you commit. Test your prints, keep backups, and edit with intention. By being thorough at the start, you save time, money, and frustration later. Whether you are selling these sheets or using them yourself, a little extra scrutiny transforms a generic printable into a reliable, professional tool.