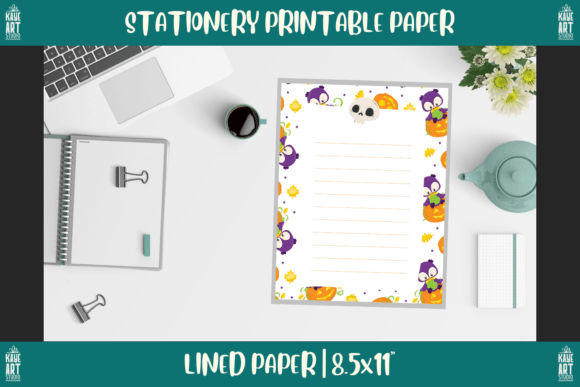
Bordered Stationery Printable Paper 159: A Practical Guide to Getting It Right
Printable stationery has become a cornerstone for creators, entrepreneurs, and hobbyists who want professional-looking materials without the overhead of traditional design services. The Bordered Stationery Printable Paper 159 set offers a versatile collection of 159 bordered designs, including unlined bordered paper, graph paper, and lined paper, all formatted at 8.5×11 inches with 300 DPI quality in both PNG and PDF formats. While this sounds straightforward, many people overlook critical details that affect their results, whether they are using it for a low-content KDP business, digital planning, or paper crafts. Understanding what you are actually getting and how to use it properly can save you time, money, and frustration.
What Makes Bordered Stationery Printable Paper 159 Different
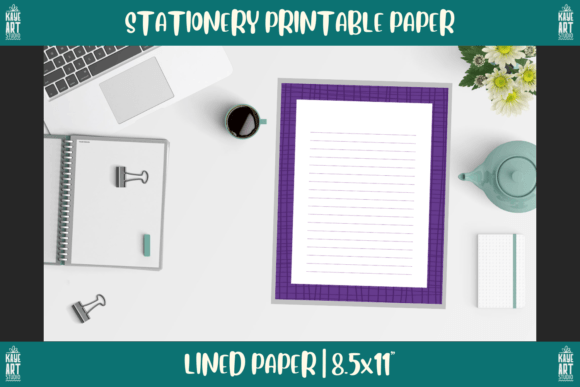
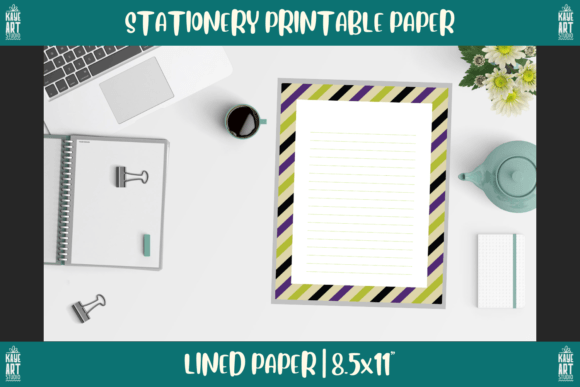
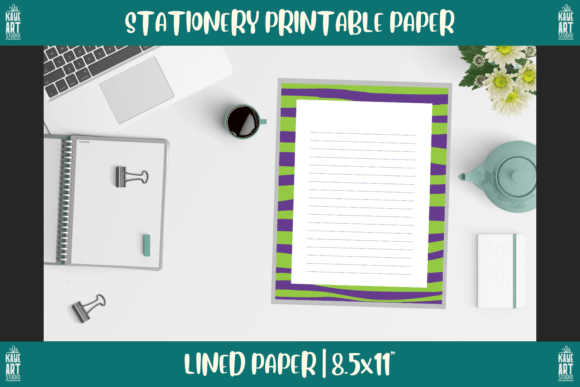
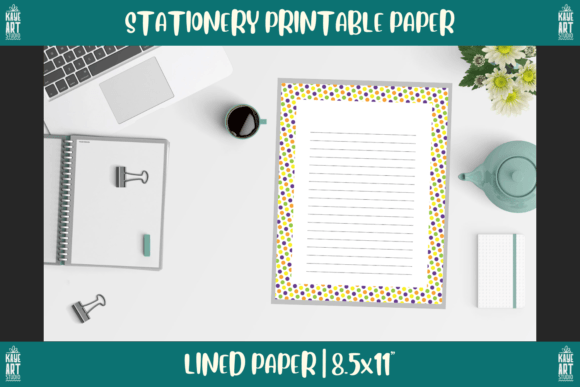
At first glance, printable paper sets can all seem similar. However, the combination of 159 unique bordered designs, multiple paper types, and dual file formats makes this set more flexible than many alternatives. You get one unlined bordered paper for artistic or note-taking freedom, one graph paper for precise layouts or mathematical work, and two lined papers for structured writing. The 300 DPI resolution ensures crisp, clean prints when used correctly, and the 8.5×11 trim size matches standard US letter paper, which is the most common size for home printing and print-on-demand platforms like Amazon KDP.
The real value lies in the variety. With 159 borders, you can maintain visual consistency across a product line while avoiding the repetitive look that makes low-content books feel generic. Whether you are creating journals, planners, notebooks, or digital stationery, the sheer number of border options allows for seasonal themes, minimalist designs, or decorative accents that appeal to different buyers.
Choosing the wrong file format for the intended use
One of the most frequent missteps is treating PNG and PDF files as interchangeable. They are not, and using the wrong format can degrade your final product. PNG files are raster images, meaning they are pixel-based and best suited for digital use, such as uploading to tablet note-taking apps, importing into Canva or Procreate, or using as backgrounds in digital planners. PDF files, on the other hand, are vector-friendly and preserve sharpness better when printed. They also handle page scaling and margins more reliably on different printers.
If you are selling low-content books on KDP, always opt for the PDF version for your interior files. Platforms like KDP require precise bleed and margin specifications, and PDFs embedded with proper trim marks will pass their review process more smoothly. Using PNGs for print interiors can lead to resolution loss or misaligned borders, resulting in rejected files or poor-quality printed books.
A better approach: Download both formats, then use the PDFs for any project that will be printed or uploaded to a print-on-demand service. Keep the PNGs for digital-only uses, such as GoodNotes, Notability, or Etsy digital downloads for customers who want to import them into their own apps.
Overlooking the importance of DPI and print settings
Another common error is assuming that a 300 DPI file will automatically print at high quality. This is true only if your printer settings and paper selection match the file's specifications. Many people open a 300 DPI PNG in a basic image viewer, hit print, and wonder why the borders look soft or the colors appear faded. The issue is usually that the print dialog is set to a lower resolution, or the paper type does not match the intended ink behavior.
To get the crisp results the 300 DPI quality promises, always set your printer to "High Quality" or "Best" mode, and select a paper type that matches your stock. For standard copy paper, use the plain paper setting. For heavier cardstock or matte photo paper, adjust the printer to that specific media type. Additionally, disable any scaling or "fit to page" options unless you are certain the file needs resizing. Many bordered stationery files are designed to print exactly at 8.5×11 inches, and scaling can shrink the border margins unevenly.
Ignoring bleed requirements for print-on-demand publishing
If you are using the Bordered Stationery Printable Paper 159 set for KDP or other POD platforms, bleed is non-negotiable. The 8.5×11 inch trim size is standard, but the file you upload must include a bleed area extending beyond the trim line, typically 0.125 inches on each side. Many printable stationery sets do not include built-in bleed, so you must add it yourself in your design software before uploading.
Failing to account for bleed can result in thin white edges along the borders of your printed book, which looks unprofessional and may cause rejection during KDP's content review. If you are new to this, create a new document in your editing software at 8.75×11.25 inches (which includes the bleed area), then center and embed the bordered stationery file inside that canvas. This ensures the border extends past the trim line, and the final book will have clean, edge-to-edge coverage.
Using the wrong paper type for the project
The set includes unlined bordered paper, graph paper, and lined paper, but each serves a distinct purpose. Mixing them up or using them interchangeably can confuse your customers or ruin the functionality of your product. For example, putting lined paper in a bullet journal meant for flexible layouts will frustrate users who expect blank pages. Similarly, using graph paper in a lined journal meant for note-taking will reduce readability for standard handwriting.
Before you design any product, define its purpose clearly. If you are creating a daily planner, line the pages with the ruled option. If you are making a sketchbook or art journal, use the unlined bordered paper. For a planner that includes goal setting and habit tracking, the graph paper works well for grids and tables. By matching the paper type to the intended use, you increase the perceived value and usability of your finished product.
What to Check Before You Buy or Download
Before committing to any printable stationery set, verify a few critical details that are easy to overlook when you are focused on the designs themselves.
- License terms: Some printable stationery sets come with commercial use licenses, others strictly limit use to personal projects. If you plan to sell products made from these files on KDP or Etsy, confirm that the license allows commercial reproduction. The Bordered Stationery Printable Paper 159 set is frequently used for low-content KDP businesses, but always double-check the seller's specific terms.
- Resolution consistency: Even within a set, not all files may be uniformly formatted. Check that every PNG and PDF in the set is truly 300 DPI and that the borders align correctly on the page. Open a few test files at 100% zoom and look for pixelation or uneven edges around the border lines.
- File naming and organization: A set of 159 files can become chaotic quickly. Look for a set that uses clear, consistent naming conventions, such as "Border_001_Lined.pdf" or "Graph_Page_Blue_Flowers.png." Good organization saves you hours of sorting later, especially if you plan to create multiple products from the same set.
- Border style consistency: Browse through the entire collection before designing anything. Some borders may be ornate and decorative, while others are minimal or geometric. Make sure the styles align with the aesthetic you need for your target audience. A mismatch between border style and product theme can hurt sales, even if the technical quality is good.
Practical Tips for Getting the Most Out of Bordered Stationery Printable Paper 159
Once you have the set downloaded and verified, there are a few habits that will help you produce better results consistently.
Always create a master template file in your design software containing the 8.5×11 trim size, bleed guides, and safe margins. Then import the bordered stationery file as a background layer. This way, you can add text, graphics, or additional elements without accidentally shifting the border or violating print safety zones. Save this template as a reusable file for each border variation you plan to use.
For digital planners, use the PNG versions and reduce the file size slightly if needed. Some note-taking apps struggle with extremely high-resolution images, and a 300 DPI PNG at full letter size can be several megabytes. Resizing the image to 2048×2647 pixels (roughly 240 DPI) often looks identical on a tablet screen while reducing lag and loading times. Keep the original 300 DPI file for printing, but create a resized copy for digital use.
When uploading to KDP, always preview the file using Amazon's online reviewer before publishing. Look specifically at the border edges on each page. If you see any white gaps, misalignment, or scaling issues, go back and adjust the bleed or margins in your editing software. It is better to catch these problems during the review stage than to receive customer complaints or negative reviews about poor print quality.
If you are creating a digital or print product for resale, group similar border styles together into themed volumes. For example, volume one could feature botanical borders, volume two could feature geometric patterns, and volume three could focus on seasonal designs. This approach increases the perceived value of each product and gives customers a reason to buy multiple volumes rather than skipping through a single large set.
How to Avoid Overwhelm with a Large Printable Set
Having 159 borders at your disposal can feel like too much choice, which leads many creators to either use only a few favorites or randomly pick pages without a cohesive plan. Neither approach serves your customers well. Instead, create a simple categorization system for yourself. Sort the borders into three or four style groups based on visual weight, color palette, or theme. Then, assign each group to a specific product type. This prevents you from mixing a heavy Victorian-style border with a clean modern layout in the same journal.
Another practical step is to create a simple reference sheet for yourself. Print out each border at a small scale (like 4×5 inches) and lay them out on a table or magnetic board. Seeing them physically helps you identify patterns, color relationships, and which borders work well together. This is especially helpful if you are designing a series of products that need to feel connected, such as a planner family with matching cover and interior styles.
Final Considerations for No-Content and Low-Content KDP Products
The low-content publishing space is crowded, and the difference between a product that sells and one that sits unnoticed often comes down to polish and attention to detail. Using a set like Bordered Stationery Printable Paper 159 can give you a head start, but only if you apply it thoughtfully. Customers notice when borders are cut off, when margins are inconsistent, or when the paper type does not match the intended use. These small errors erode trust and reduce the likelihood of repeat purchases.
Take the extra time to proof each page, test print a sample before publishing, and ensure your files are properly formatted for the platform you are using. Whether you are creating lined journals for bullet journal enthusiasts, graph paper notebooks for students, or unlined sketchbooks for artists, the quality of the finished product reflects directly on your brand. With the right preparation, this printable set can become a reliable tool in your creative workflow rather than a source of frustration.
Remember that the best printable stationery sets are the ones you actually use effectively. By avoiding the common pitfalls around file formats, print settings, bleed requirements, and paper type selection, you set yourself up for cleaner results, happier customers, and a smoother publishing process overall.